A locked account is annoying. A locked account while you are standing in a hospital corridor, or while your teenager is stranded two towns over, is a different kind of problem. Most families only find their recovery gaps at the worst possible moment: the phone is gone, the one-time codes were going to that phone, and nobody else knows the password to the email account that could fix all of it. Closing those gaps takes one afternoon, a printer, and a frank conversation about who can get into what.
Start With the Accounts That Would Actually Hurt
You do not need a plan for all forty of your logins. You need one for the handful that unlock the rest. Sit down with a notebook and write the list — names only, no passwords yet:
- The primary email address you use to reset everything else. This is the master key. Protect it hardest.
- Banking, credit card and payment apps.
- Your mobile carrier account, because that number is how many codes arrive.
- The password manager itself.
- Cloud storage and photo backups.
- Health portal, insurance, school portals and anything with your children's information.
If someone gets into the primary email, they can usually walk into everything else through password resets. If the carrier account is compromised, they can move your number to a new SIM and intercept your codes. Those two deserve the most attention.
What Goes Into the Recovery Kit
A recovery kit is not a list of passwords taped inside a kitchen cupboard. It is a small, sealed package of the things a family member would need if you were unreachable, plus clear instructions for using them. Include:
- Recovery codes for every account that uses two-factor authentication. Print them; a file on the same phone you lost is useless.
- The password manager's master password, written on paper and sealed separately from the kit's instructions.
- Carrier account number and PIN, so someone can prove they are authorised to talk to support.
- A backup second factor. A spare security key kept at home, or a printed copy of authenticator setup codes, so a lost phone does not lock you out of your own logins.
- Device details: phone numbers, IMEI or serial numbers, and the account each device is signed into.
- A contact sheet: bank fraud line, carrier support, insurance, the school office, and one person outside the household who can vouch for you.
- A one-page instruction sheet written in plain language, in the order things should be done.
Where to Keep It
Make two copies and store them in two places. One physical copy goes in a fireproof safe, a locked filing cabinet, or with a trusted relative who lives elsewhere. The second can be an encrypted archive on a USB drive or in cloud storage — but only if the encryption password is one that a second adult in the household genuinely knows and can recall without looking it up.
A practical trick: put the papers in an envelope, sign across the flap, and date it. You will know instantly if it has been opened, and you will know when it was last updated. Review it after any big change — a new phone, a new bank, a new baby, a move.
Set Up Emergency Access in Your Password Manager
Most established password managers offer an emergency or legacy contact feature. The details vary, but the models are usually one of three:
- Designated contact with a waiting period. You name someone. If they request access, you get notified and can approve or deny. If you do not respond within a set number of days, access is granted.
- A shared vault. A smaller vault holding only the critical logins, shared with one other adult from day one.
- A split credential. The master password is stored in one place, the second factor or a piece of it in another, so no single person can open everything alone.
Whichever you choose, write down which model you used and what the waiting period is. A plan nobody can describe out loud is not a plan.
For money, property and legal authority, the technical route is only half the story. A bank may refuse to let your spouse act on your accounts no matter how many passwords they hold. If that matters to you, speak to a qualified legal or financial professional about proper authority documents in your jurisdiction.
Handle the Phone Itself
Lock the SIM
Ask your carrier to set a PIN on your SIM, and change the default. This makes it much harder for someone to pull your number into another device and start collecting your verification codes.
Know your Find My options before you need them
Remote locate, remote lock and remote wipe are useful, but there is a trade-off: wiping a phone wipes the authenticator app on it. That is precisely why the backup second factor in your kit matters. Decide in advance whether your family's rule is "lock first, wipe only after the kit is open."
eSIMs need a conversation
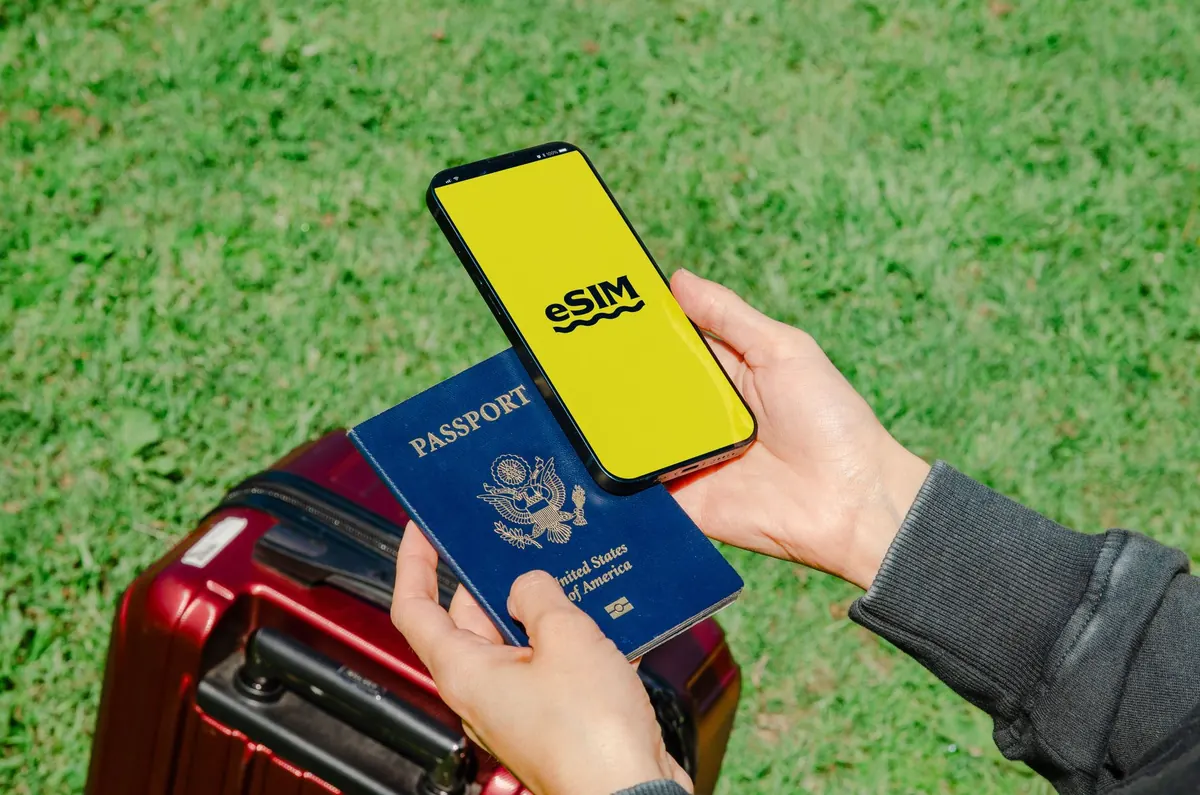
If your line is an eSIM, moving it to a replacement phone usually means contacting the carrier and proving who you are. Save the account number and PIN where a family member can find them, because a dead phone cannot receive the verification text that would otherwise let you in.
Assign Roles and Rehearse Once
Name a primary person and a backup, then write the first ten minutes as a sequence: who calls the carrier, who handles the email account, who takes the children, who stays off the phone so the lines stay clear. Then run one low-stakes drill. Ask your partner or teenager to find the kit, open it, and log into the primary email on a spare laptop using only what is inside. Fix whatever breaks. Almost every kit has one flaw the first time, usually a code that is expired or an instruction that assumes too much.
A Short Plan Beats a Perfect One
You do not have to finish everything today. Do these three things first, because they cover the majority of real lockouts: secure the primary email with a printed recovery code, set up an emergency contact in your password manager, and add a PIN to your carrier account. Then, when you have another quiet hour, add the rest of the kit and seal the envelope.
Photo: Tiger Lily / Pexels